Ang paggawa ng Scale Model ay isang mahalagang bahagi ng proseso ng disenyo
Sa aking mga taon ng paggawa ng mga obra maestra sa arkitektura, natuklasan ko na ang paggawa ng scale model ay higit pa sa isang yugto sa proseso ng disenyo - dito nabubuhay ang mga ideya sa tatlong-dimensional na paraan. Gumagamit ako ng mga materyales tulad ng mga bloke na gawa sa kahoy at gray na tabla, gumugol ako ng hindi mabilang na oras sa pagbabago ng mga magaspang na sketch sa mga nakikitang 3D na representasyon. Sa pamamagitan ng pag-eksperimento sa form at spatial arrangement, nalaman ko na ang mga tumpak na modelo ng scale ay nakakatulong sa pag-navigate sa mga hadlang habang binibigyang buhay ang bawat konsepto. Gumagawa man ng mga proporsyonal na bahagi para sa isang piraso ng muwebles sa 1:5 o 1:10 (5x o 10x na mas maliit), o pagdidisenyo ng bahay sa 1:20 o 1:50 (20x o 50x na pagbawas mula sa totoong buhay), ang bawat proyekto ay nangangailangan ng hindi matitinag na pasensya.
Ang aking toolkit ay palaging may kasamang mahahalagang bagay: isang craft knife o scalpel para sa mga sinukat na hiwa sa isang cutting mat, mga ruler at steel ruler para sa mga tuwid na linya, sticky tape at masking tape para sa mga pansamantalang hawak, at iba't ibang uri ng pandikit mula PVA hanggang UHU. Nalaman ko na ang pagdodokumento ng pag-unlad habang sinusubukan ang iba't ibang mga diskarte ay nakakatulong sa pakikipag-usap sa ebolusyon ng disenyo. Ang paggawa ng maayos na mga fold na may malulutong na mga gilid ay nangangailangan ng maingat na pagmamarka sa mga linya ng lapis, habang ang mga proporsyon ay dapat suriin laban sa mga maliliit na figure para sa katumpakan ng sukat. Ang proseso ay kadalasang nagsasangkot ng pamamahala ng mga magulo na tube adhesive, pagharap sa mga off-cut, at pagtiyak na ang mga low-tack na tape ay hindi nag-iiwan ng mga hindi gustong marka. Sa pamamagitan ng masalimuot na gawaing ito, nagkakaroon ng hugis ang bawat pag-install ng mobile, na nagbabago mula sa mga pangunahing istruktura ng karton tungo sa pinong mga pahayag ng arkitektura.
Paano gumawa ng scale model?
Hakbang 1: Pagpili ng Iyong Scale
Piliin ang naaangkop na sukat para sa iyong modelo batay sa laki ng iyong proyekto. Para sa mga piraso ng muwebles, gumamit ng 1:5 o 1:10 (5x o 10x na mas maliit), habang para sa isang bahay, isaalang-alang ang 1:20 o 1:50 (20x o 50x na mas maliit kaysa sa totoong buhay). Ang paunang desisyong ito ay nagtatakda ng pundasyon para sa pakikipag-usap sa iyong mga ideya sa disenyo, na kumakatawan sa mga ito nang may wastong pasensya.

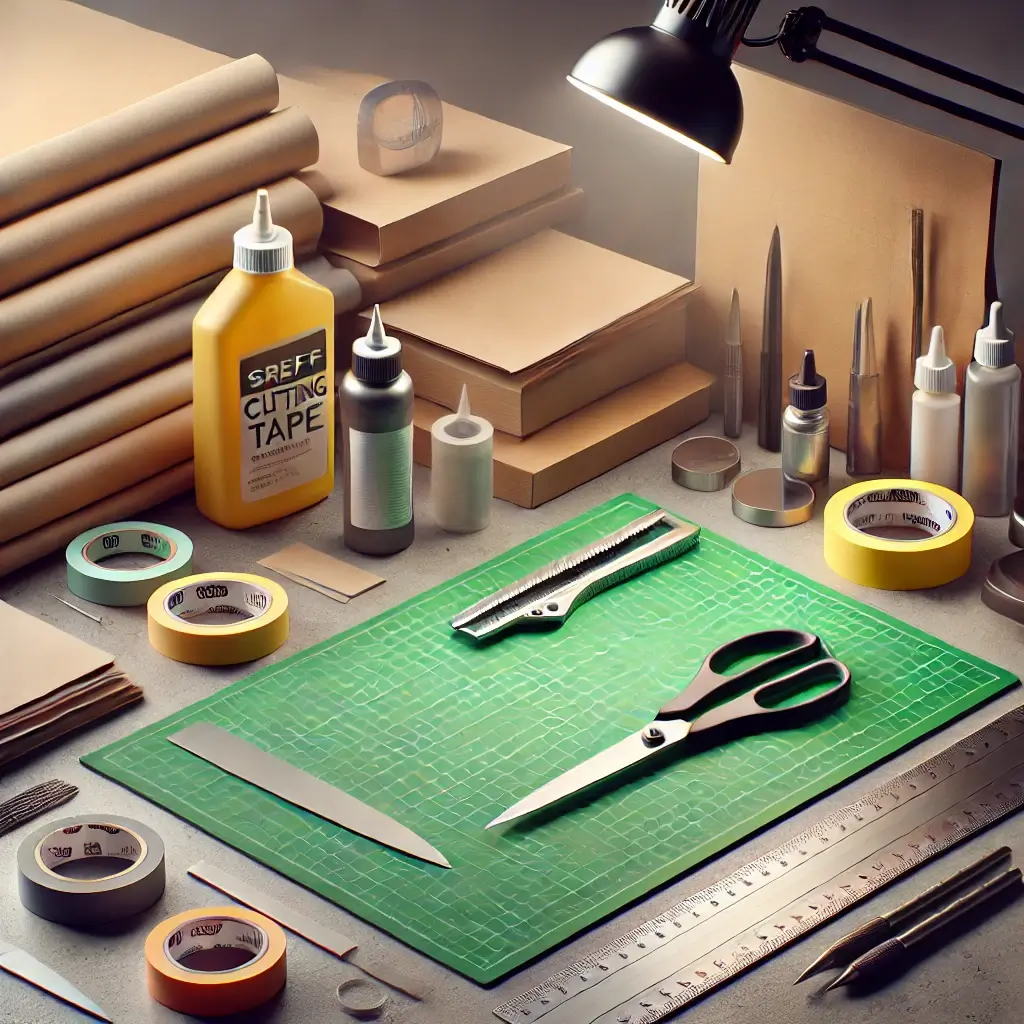
Hakbang 2: Pagtitipon ng Mga Materyales
Simulan ang paggawa ng modelo sa pamamagitan ng pagkolekta ng mga pangunahing kagamitan: isang berdeng cutting mat, karton, mga tool tulad ng craft knife, masking tape, glue, steel ruler, at scale ruler para sa mga tumpak na sukat at sukat. Ang pagkakaroon ng tamang mga materyales na nakaayos ay ginagawang mas maayos ang proseso.
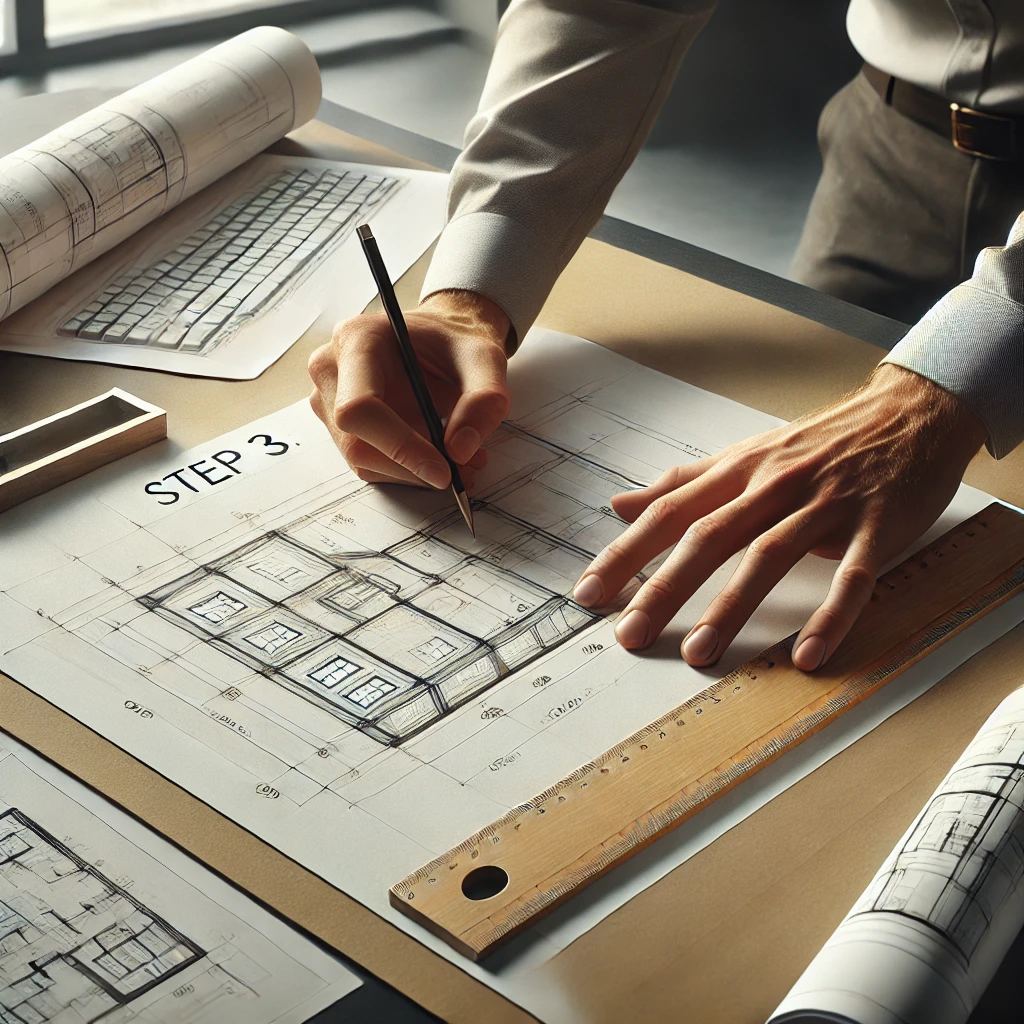
Hakbang 3: Pagpaplano at Pagguhit
Simulan ang pagsukat at pagguhit ng mga piraso ng iyong modelo. Gumawa ng tumpak na mga tuwid na linya gamit ang mga pangunahing sukat mula sa iyong mga naka-print o screen na mga plano. Gamitin ang iyong card at steel ruler para sa mga tumpak na layout, pagmamarka ng lapis bago ang anumang pagputol.
Hakbang 4: Paglikha ng Folds
Kabisaduhin ang sining ng pagmamarka ng karton upang lumikha ng perpektong fold. Gamitin ang iyong craft knife o scalpel para gumawa ng light score lines sa mga marka ng lapis. Tinitiyak ng diskarteng ito ang maayos na mga fold na may malulutong na mga gilid kapag hinuhubog ang iyong materyal. Para sa mga aperture, maingat na planuhin ang bawat hiwa at hugis.

Hakbang 5: Pagpupulong
Dumulog sa gluing nang may katumpakan, gamit ang PVA o all-purpose UHU glue. Maingat na pagsamahin ang mga bahagi, pangasiwaan ang anumang makalat na pagtapon ng tubo. Gumamit ng low-tack masking tape upang hawakan ang mga piraso habang ang pandikit ay itinatakda, pagkatapos ay dahan-dahang tanggalin ito upang maiwasang mag-iwan ng mga marka. Panatilihing malinis ang iyong workspace sa pamamagitan ng pamamahala ng mga off-cut.

Hakbang 6: Pag-verify ng Scale
Ang tunay na pagsubok ng iyong disenyo ay nabubuhay kapag sinusubukan ito gamit ang mga maliliit na figure. Maglagay ng architectural scale figure sa kabuuan ng iyong modelo upang suriin ang mga proporsyon. Natutunan ko na ang iba't ibang postura ng mga figure na ito ay nakakatulong na mapatunayan ang mga spatial na relasyon nang mas epektibo.

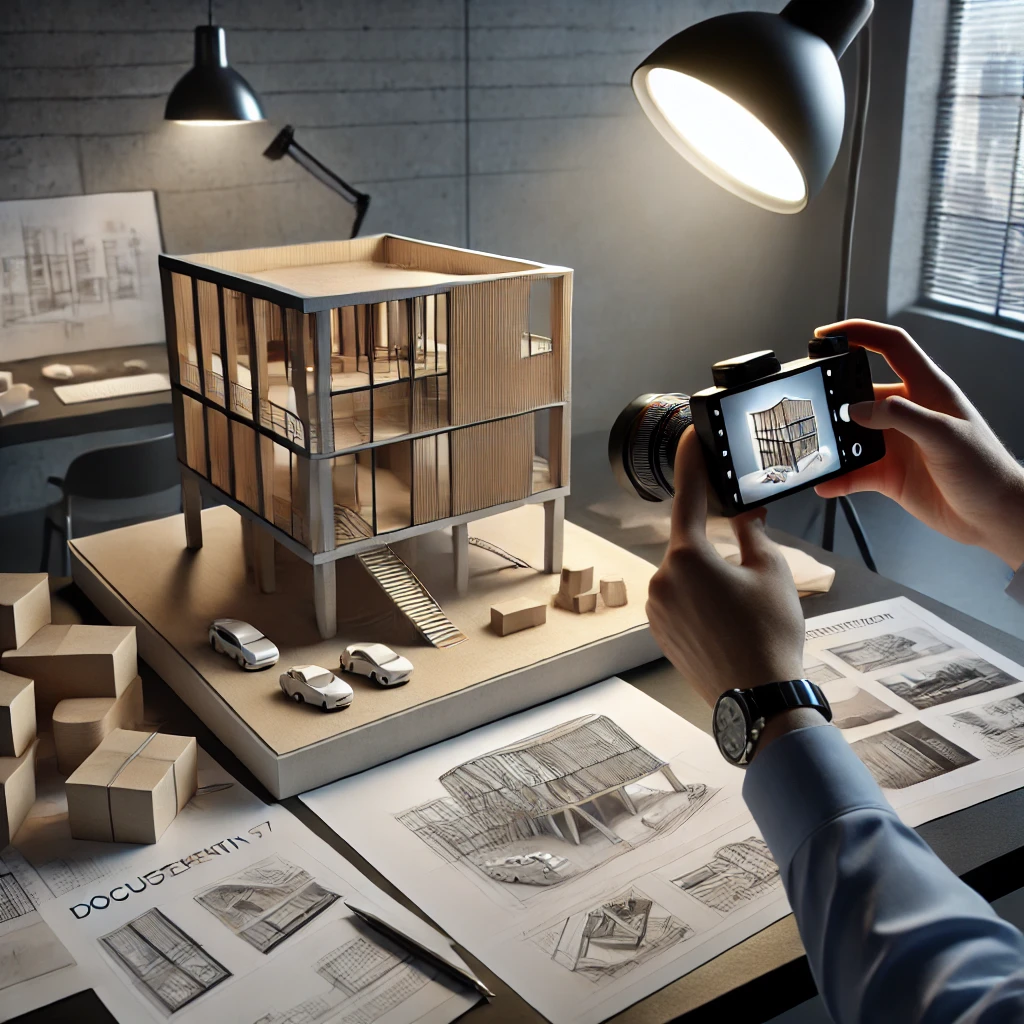
Hakbang 7: Proseso ng Dokumentasyon
Habang ginagawa ang iyong pag-install sa mobile, nagiging mahalaga ang masusing pagdodokumento. Sinusubaybayan ko ang bawat pagbabago habang ginagawa ang trabaho, kumukuha ng larawan mula sa maraming anggulo. Ang pagsasanay na ito ay madalas na naghahayag ng mga lugar na nangangailangan ng pagpipino na maaaring hindi ko napalampas.